Skip to navigation
Skip to main content
Skip to footer
Back to the list
Previous
Next
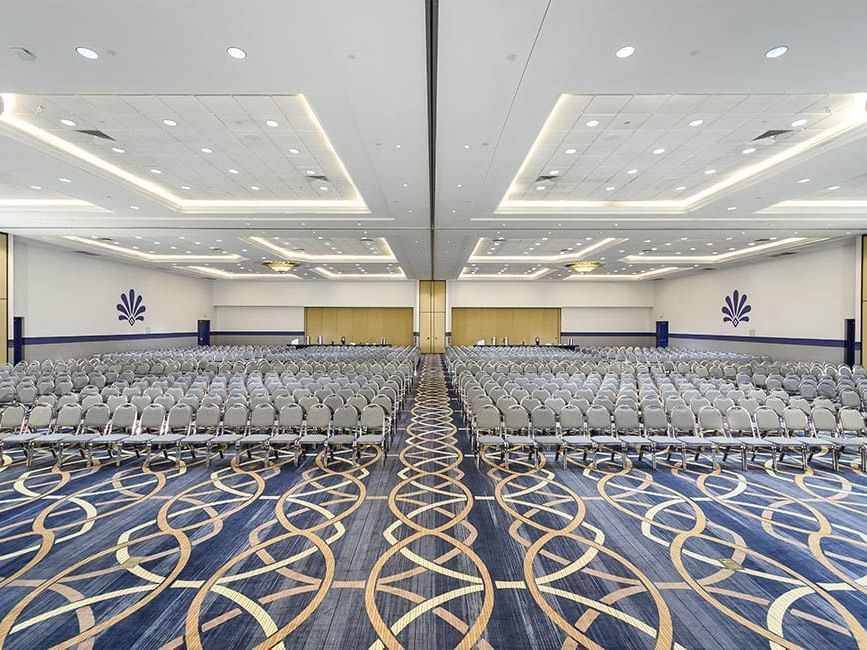
Parthenon #3
Capacity Chart
Parthenon #3
Parthenon #3
Back to top
Back to top